Vermicompost Explained: How Farmers Make Rich Organic Manure From Earthworms and Farm Waste
Key Takeaways
- Vermicompost is worm-processed organic waste that feeds soil microbes and improves soil structure.
- Red wriggler composting worms, not field earthworms, are used for vermicompost beds.
- A bed needs shade, drainage, air and moisture like a wrung-out sponge.
- Feed in thin layers, cover fresh food with dry leaves, and never overfeed a new bed.
- Harvest after six to eight weeks by letting worms migrate towards fresh food.
Vermicompost Explained: How Farmers Make Rich Organic Manure From Earthworms and Farm Waste
Every farm produces waste: dry leaves, crop stalks, vegetable peels, cow dung and weeds pulled from the field bunds. Most farmers either burn this material or leave it to rot in a corner. Vermicomposting turns the same waste into something far more valuable. With the help of earthworms, ordinary farm residue becomes a dark, crumbly manure that feeds the soil, holds moisture and slowly releases nutrients to crops. It costs little to start, needs no fuel or machinery, and can be made in a backyard, a cattle shed corner or a small pit near the field.
What Vermicompost Actually Is
Vermicompost is the manure left behind after earthworms eat organic matter and pass it through their bodies. The worms do not just chew the waste; their gut microbes break it down further, so the finished product is finer, more stable and richer in plant-friendly nutrients than ordinary farmyard manure. Good vermicompost looks dark brown or black, smells like fresh earth rather than dung, and crumbles easily between the fingers. It contains nitrogen, phosphorus and potassium in modest amounts, but its real strength is not the quantity of nutrients. It improves soil structure, feeds the microbes that make nutrients available to roots, and helps sandy soil hold water and clay soil drain better. Crops grown in soil enriched with vermicompost often show steadier growth, because nutrients are released slowly instead of washing away in the first irrigation.
The worms used are not the deep-burrowing earthworms found in fields. Farmers use surface-feeding composting worms, commonly red wrigglers, which live in the top layer of decaying material and multiply quickly when food and moisture are right. A small starter culture of a few hundred worms can grow into thousands within a few months, which means a farmer rarely needs to buy worms again after the first bed is established.
Setting Up a Vermicompost Bed, Step by Step
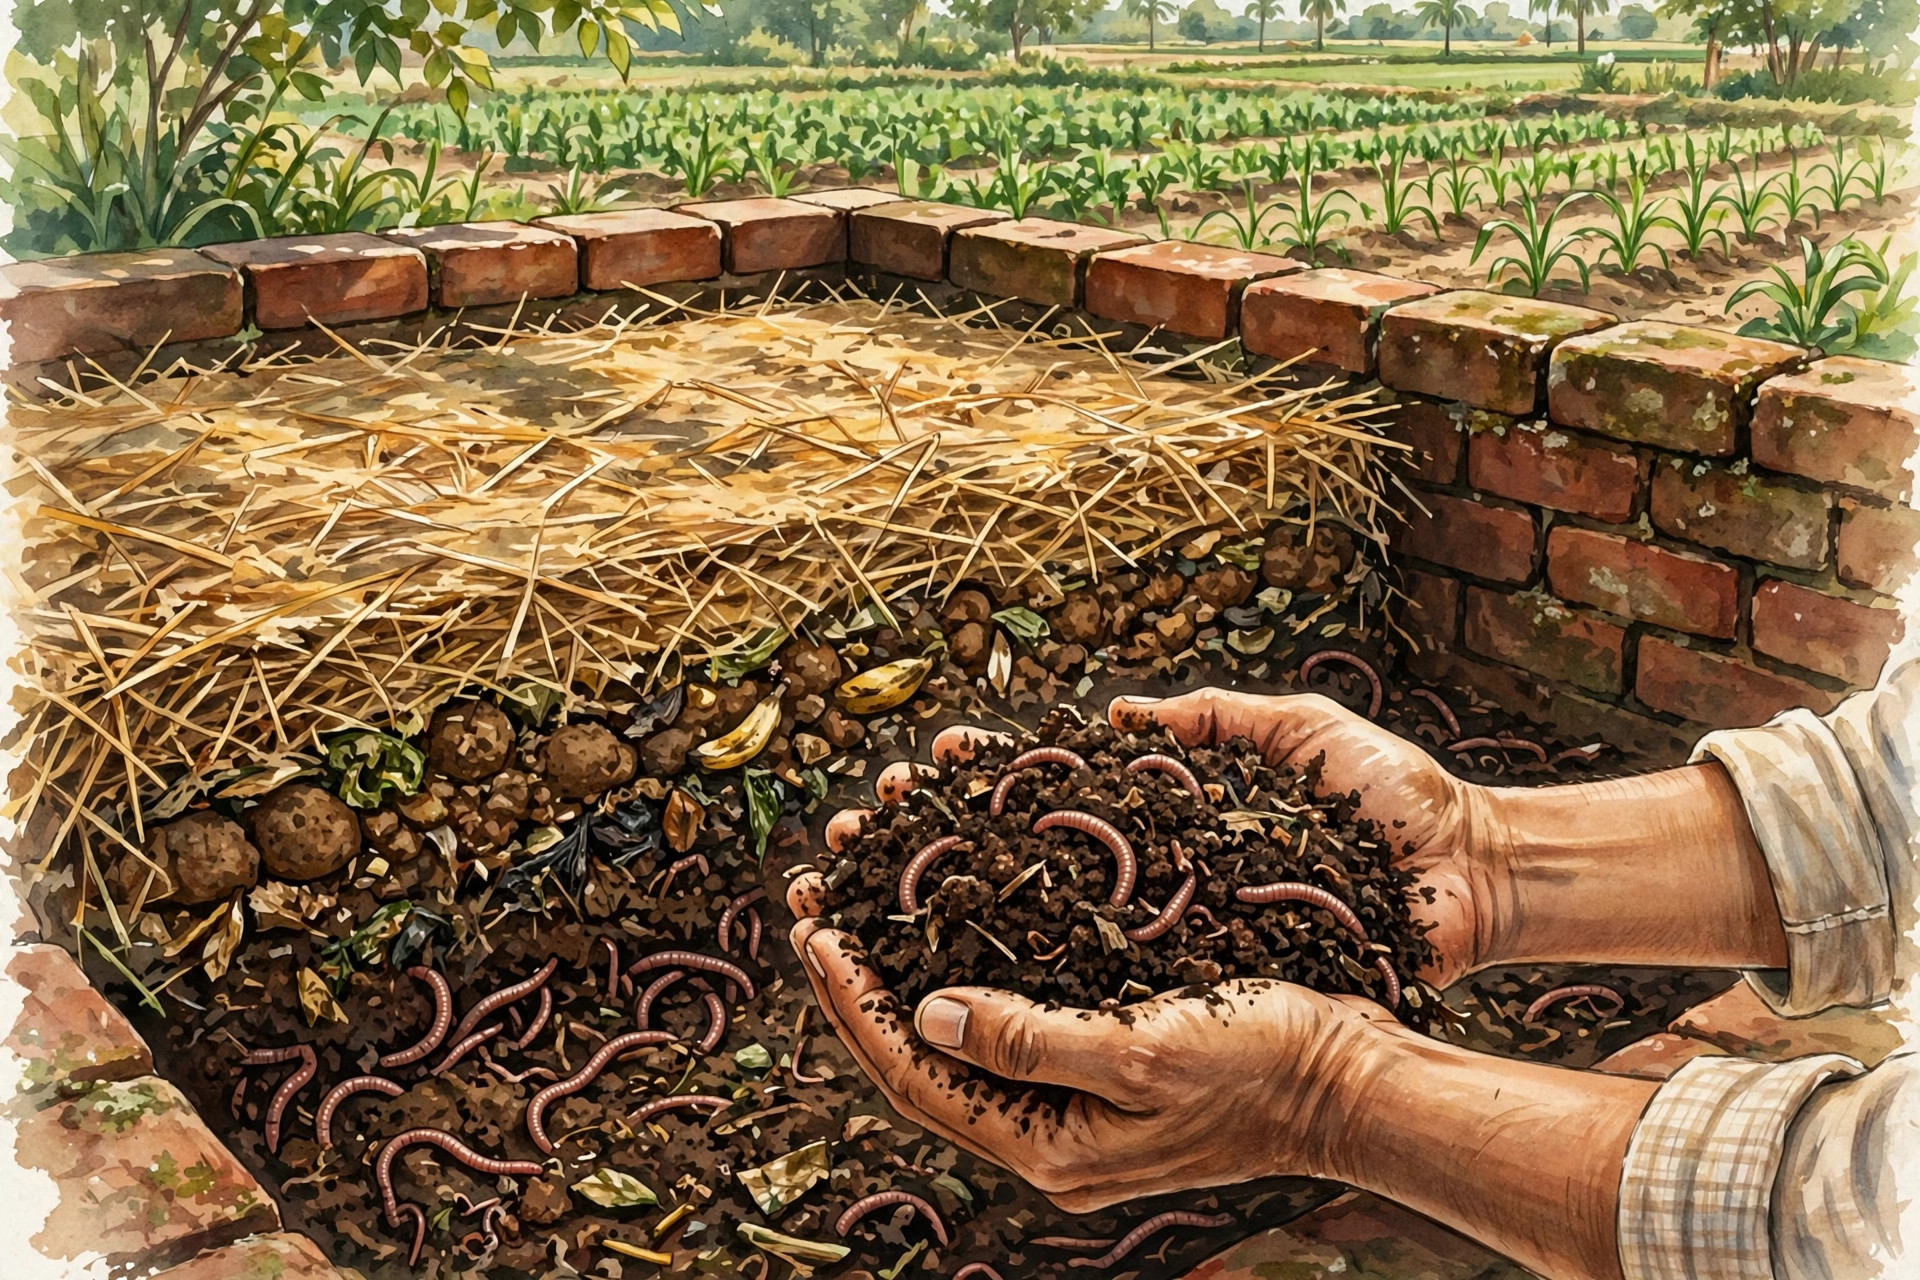
A bed can be as simple as a shallow pit, a brick tank, a cement ring or even an old plastic drum with holes. The key requirements are shade, drainage and air. Direct sun dries the bed and kills worms, so choose a spot under a tree, a thatch roof or a shed. A common size for a household or small farm unit is roughly six feet long, three feet wide and two feet deep, built with bricks on a slightly sloping floor so excess water can drain out.
Start with a bedding layer of dry leaves, straw or shredded newspaper, moistened well. Add a thin layer of partly decomposed cow dung, which is the worms' first food and introduces helpful microbes. Then release the worms on top and cover them with a moist jute sack or dry grass. For the first few days, leave the bed alone so the worms settle. After that, add kitchen waste, vegetable peels, fruit skins, leaf litter and chopped crop residue in thin layers, always covering fresh food with a layer of dry leaves or straw. Do not add meat, cooked oily food, chillies, citrus peels in large quantities or fresh poultry droppings, all of which disturb the worms or attract pests.
Feeding, Watering and Daily Care
A vermicompost bed needs attention the way a calf does: small, regular care rather than occasional big effort. The bed should feel like a wrung-out sponge, damp but not dripping. In summer, sprinkle water every day or two; in the monsoon, protect it from heavy rain so it does not get waterlogged. If the bed smells sour, it is usually too wet or has too much fresh food at once. Stop feeding for a few days, add dry straw and turn the top layer gently to let air in. If ants appear, the bed is probably too dry, so water it and keep the surroundings clean.
Feeding follows a simple rule: add only as much as the worms can finish in a few days. A new bed eats slowly, so start with small amounts and increase as the worm population grows. Once a week, check the moisture by squeezing a handful of bedding. If water drips out, it is too wet; if it feels dry and crumbly, it needs water. This weekly check prevents most problems before they start, and it takes less than five minutes.
Harvesting and Using the Finished Compost
After roughly six to eight weeks, the lower layers turn dark and granular, and very little of the original waste is recognisable. To harvest, stop feeding and watering for three or four days so the material dries slightly. Then push the finished compost to one side of the bed and place fresh food on the empty side. Over the next few days, most worms migrate towards the fresh food, leaving the finished compost nearly worm-free and easy to collect. Sieve it lightly to remove any large undecomposed bits, which can go back into the next bed, and store the compost in a shaded, airy place in sacks.
Vermicompost can be used in several ways. Mixed into the soil before sowing, it improves the seedbed and gives seedlings a gentle start. Applied as a top dressing around standing crops, it feeds the root zone slowly through the season. Nursery growers mix it with soil and sand for raising seedlings, and vegetable growers often find it especially useful because vegetables respond quickly to the improved soil life. A small quantity goes a long way: even a modest bed producing a few quintals a year can cover a kitchen garden, a nursery and part of a vegetable plot.
Mistakes That Spoil a Good Bed
Beginners usually fail for a handful of avoidable reasons. The first is putting the bed in direct sunlight or letting it dry out during a hot spell. The second is overfeeding, especially with fresh cow dung or large amounts of kitchen waste dumped at once, which heats up and drives worms away. Fresh dung should always be partly decomposed before it goes into the bed. The third mistake is using chemical pesticides or salty water on the bed, both of which kill worms quickly. The bed should be kept away from spray drift when nearby fields are treated. Finally, some farmers expect vermicompost to replace all fertiliser at once. It works best as part of a balanced approach: it rebuilds the soil over seasons, while a reduced dose of other nutrients may still be needed in the first year or two, depending on the crop and the soil.
Conclusion
Vermicomposting asks for little: shade, waste that the farm already produces, a starter culture of worms and a few minutes of care each week. In return it gives a manure that improves soil structure, feeds soil life and reduces dependence on purchased inputs. The economics are simple rather than dramatic. The main savings come from waste that would otherwise be burned or discarded, fertiliser bills that fall gradually as soil health improves, and crops that stand up better to dry spells because the soil holds more moisture. Start with one small bed, learn its rhythm through a season, and expand only when the first harvest of dark, sweet-smelling compost shows what the worms can do. Good soil is built slowly, and vermicompost is one of the most practical tools a farmer has for building it.