PM Surya Ghar Muft Bijli Yojana Explained: Rooftop Solar, Free Electricity and How Households Apply
Key Takeaways
- Rooftop solar can generate up to 300 units a month for a typical household system.
- Size the system to your actual electricity usage, not to the maximum subsidy.
- DISCOM feasibility approval must come before installation, followed by inspection and net metering.
- Check current subsidy slabs on the official portal, since amounts can change.
- Use staged payments and written warranties, and budget for panel cleaning and maintenance.
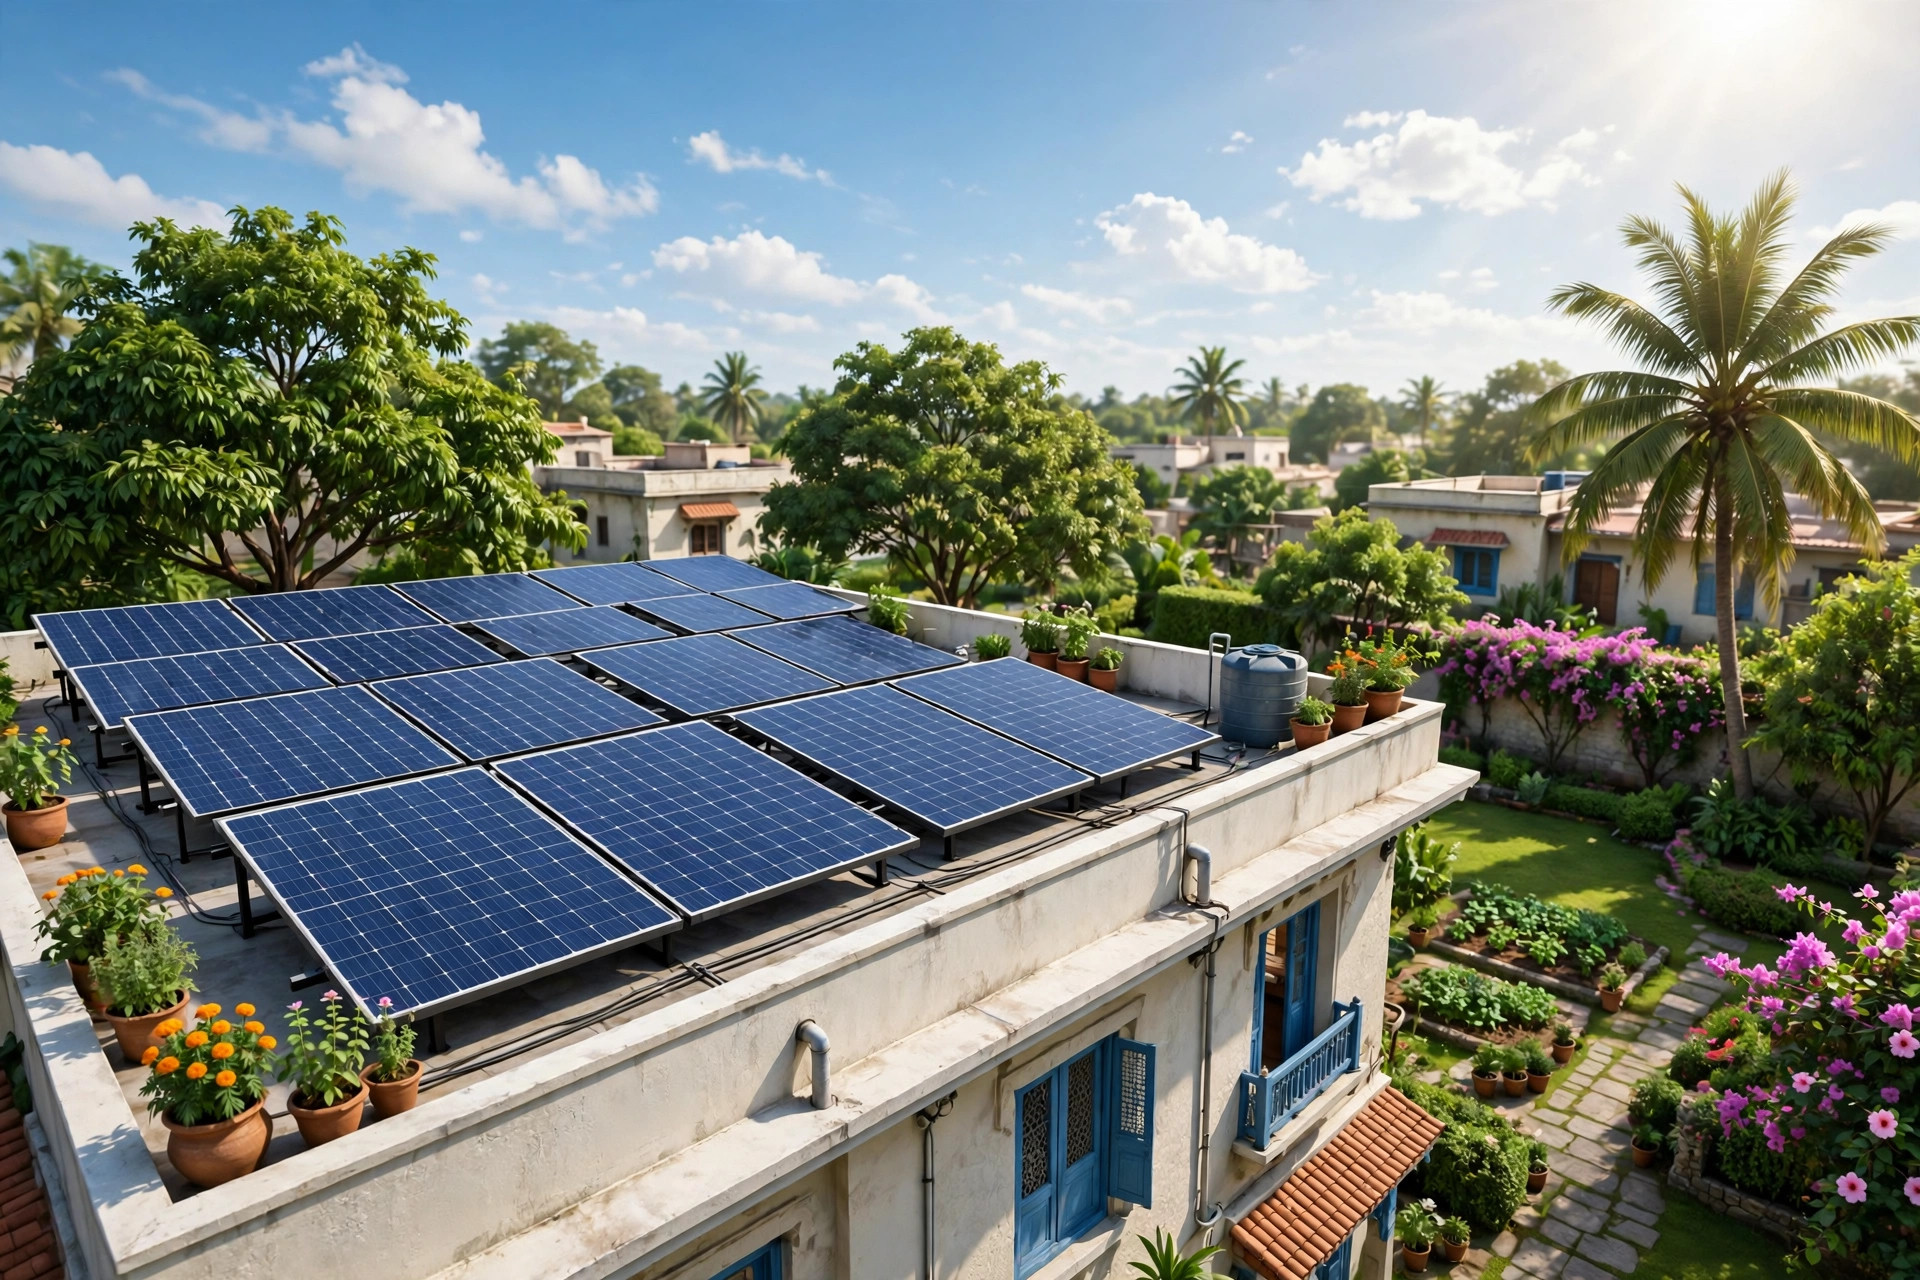
Every month, millions of Indian households pay an electricity bill that keeps rising, while the sun shines free on their rooftops. The PM Surya Ghar Muft Bijli Yojana tries to connect those two facts. It helps households install rooftop solar panels, offers a subsidy to reduce the upfront cost, and aims to give them up to 300 units of free electricity per month through the power their own roof generates.
For a middle-class family, a small shop owner running a home business, or a household tired of unpredictable bills, rooftop solar can be genuinely transformative. But it is also a significant purchase that involves your roof, your electricity connection, and a vendor you must trust. This article explains how the scheme works, who can apply, what the process looks like, and what to check before you sign anything. Subsidy amounts and technical rules can change, so always confirm current details on the official national rooftop solar portal before committing.
The Idea in Simple Terms
A rooftop solar system converts sunlight into electricity for your home. During the day, the panels generate power, which your home uses first. Surplus electricity can be exported to the grid, and at night or on cloudy days, you draw power from the grid as usual. With net metering, your bill reflects the difference between what you import and what you export.
The scheme's headline promise is up to 300 units of free electricity per month. That does not mean the government pays your entire bill regardless of use. It means that a suitably sized system — typically around 2 to 3 kilowatts for a household using about 300 units a month — can generate roughly that much electricity, so the household's net bill for those units becomes close to zero. If you use much more than 300 units, you will still pay for the excess. If you use much less, your system may be larger than you need, which wastes money.
This is the first thing to get right: size the system to your actual consumption, not to the maximum subsidy. Look at your last twelve months of electricity bills, find your average monthly units, and size accordingly. A vendor who pushes a much larger system than your usage justifies is selling you capacity you do not need.
Who Can Apply?
The scheme is aimed at residential households with a suitable roof and a valid electricity connection. You need to own the house or have the right to install on the roof, and your roof must be structurally sound and receive adequate sunlight without heavy shading from taller buildings or trees.
Tenants face a practical difficulty: installing panels on a rented roof requires the owner's consent and a long-term arrangement, and most tenants will not stay long enough to recover the cost. The scheme makes most sense for homeowners planning to stay in the house for years.
Your electricity distribution company (DISCOM) plays a central role, because it must approve the installation, handle net metering, and inspect the system. A household with pending disputes or an irregular connection should sort those out first, because they can delay approval.
The Subsidy and the Cost
Rooftop solar has a high upfront cost and low running cost. A typical residential system costs a significant amount per kilowatt, and the total depends on system size, panel quality, inverter type, and installation conditions. The government subsidy is designed to bring this upfront cost down substantially for residential households.
Subsidy rates are structured by system capacity, with support for smaller systems and a cap beyond a certain size. Rather than quoting a figure that may have changed since this article was written, check the current subsidy slab on the official portal for your system size. What matters for your decision is the net cost after subsidy, the expected monthly saving, and the payback period — the number of years it takes for savings to cover the net cost. For many households, that payback period is a handful of years, after which the electricity is effectively free apart from maintenance.
Be careful with vendors who promise an inflated subsidy or claim they can get you a larger subsidy than the official slab. The subsidy is credited through the official process after installation and inspection, not handed over by the vendor as a discount on the spot in every case. Understand exactly how and when the subsidy reaches you before you pay the vendor in full.
How to Apply, Step by Step
The official process runs through the national rooftop solar portal, and it follows a clear sequence.
First, register on the portal with your electricity consumer number, your DISCOM, and your details. This links your application to your actual electricity connection, which is essential for net metering later.
Second, apply for feasibility approval from your DISCOM. The DISCOM checks whether your connection and local grid can support a rooftop system of the proposed size. Do not install panels before this approval, because an unapproved installation can create problems with net metering and subsidy.
Third, once feasibility is approved, get the system installed by a registered vendor. Choose a vendor carefully: check that they are registered, ask for references from previous installations in your area, compare quotations from at least two or three vendors, and confirm the brands and warranties for panels and inverter. A solar panel typically carries a long performance warranty, and the inverter warranty matters just as much, because the inverter is the component most likely to need replacement.
Fourth, after installation, submit the net-metering application and request inspection. The DISCOM inspects the installation and, if it meets technical standards, installs or configures the net meter. Only after successful inspection and commissioning does the subsidy process move forward.
Fifth, submit your bank details and required documents on the portal for subsidy disbursement. The subsidy is then credited to your bank account as per the official process. Keep every document: the vendor agreement, invoices, inspection report, net-metering agreement, and subsidy acknowledgement.
What to Watch Out For
Rooftop solar is a good investment when done properly, and a costly mistake when done hastily. Watch for these traps.
One, oversizing. A system far larger than your consumption generates surplus you may be paid little for, depending on your state's export tariff. Size to your usage.
Two, poor roof assessment. A shaded or weak roof produces less power and can create structural problems. Ask the vendor to do a proper site survey, including shade analysis, before quoting.
Three, vague warranties. Get panel, inverter, and workmanship warranties in writing, with the vendor's service contact. A cheap system with no after-sales service is expensive in the long run.
Four, full advance payment. Avoid paying the entire amount upfront. A staged payment — advance, payment on delivery, and final payment after commissioning and inspection — protects you if the vendor delays or disappears.
Five, ignoring maintenance. Panels need occasional cleaning, especially in dusty areas, and the inverter and wiring need periodic checks. Budget a small amount for maintenance and learn how to read your generation meter, so you can spot a drop in output early.
Is It Worth It for Your Home?
Rooftop solar makes the most sense if you own your home, have a sunny, unshaded roof, pay a meaningful monthly electricity bill, and plan to stay for several years. It makes less sense if your bill is very small, your roof is heavily shaded, you rent, or you plan to move soon.
Do a simple calculation: take your average monthly bill, estimate your saving after solar (your vendor should give a realistic generation estimate for your location, not an optimistic one), and divide the net cost after subsidy by the annual saving. That gives you the payback period. If it is reasonable and you value protection against future tariff rises, the investment is worth serious consideration.
Conclusion
PM Surya Ghar Muft Bijli Yojana turns an empty roof into a small power station, with a subsidy to soften the upfront cost and net metering to make the savings real. The households that benefit most are those who size the system honestly, choose a registered vendor, follow the official portal process in sequence, and protect themselves with staged payments and written warranties. Done that way, the sun on your roof stops being just weather and starts being a monthly saving — up to 300 units of electricity that you generate yourself, month after month, for decades.