Polyhouse Farming for Beginners Explained: Costs, Crops, Climate Control and Common Mistakes
Key Takeaways
- A polyhouse moderates weather but does not create perfect weather automatically
- A closed house on a hot afternoon can overheat quickly
- Polyhouse costs vary widely by size, structure, location and automation
- Capsicum, cucumber, tomato and leafy greens are common beginner crops
- Starting with a modest size and one main crop is safer than building big at once
Polyhouse Farming for Beginners Explained: Costs, Crops, Climate Control and Common Mistakes
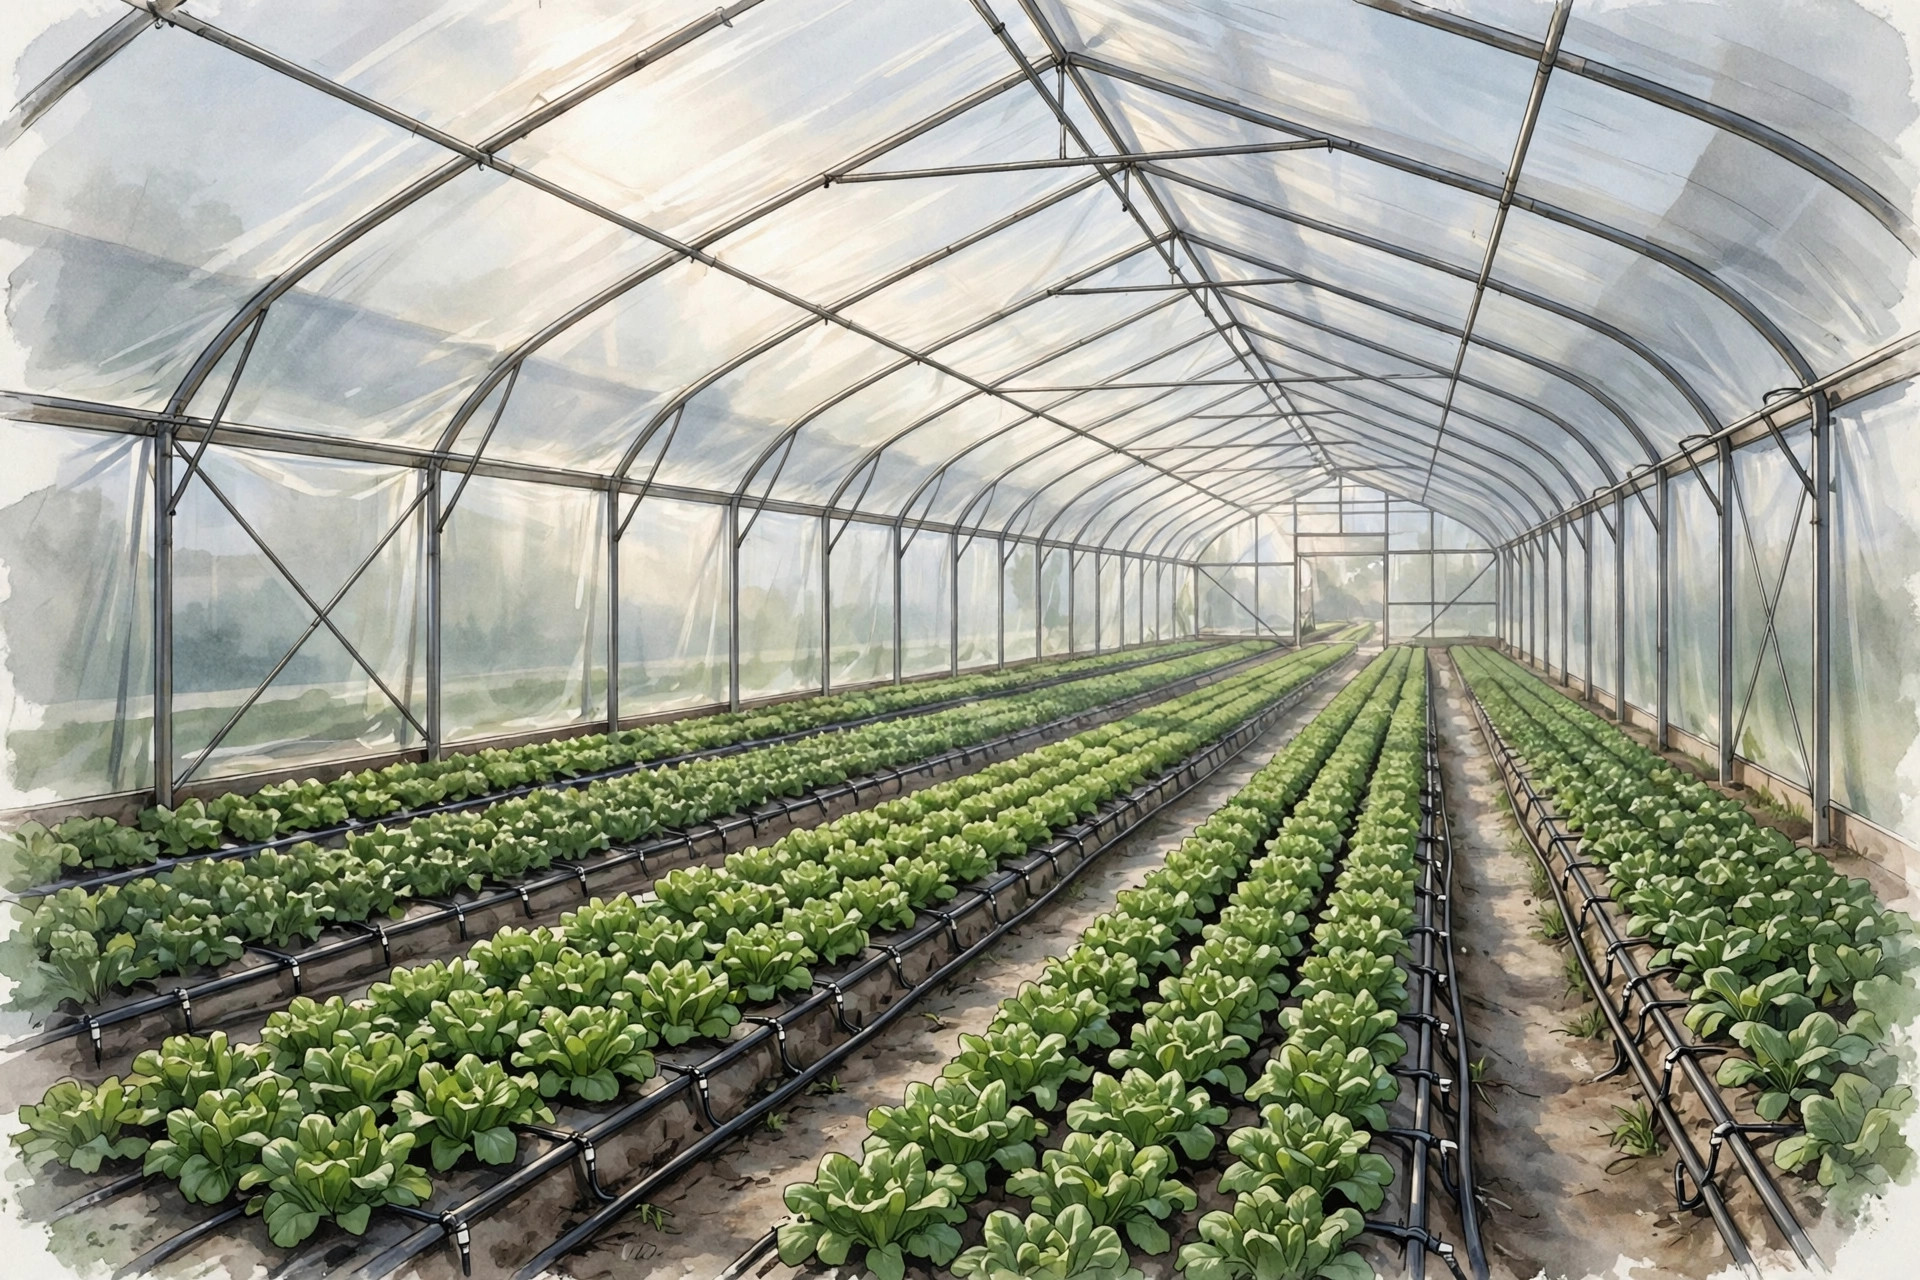
A polyhouse looks simple from the road: a frame covered in translucent plastic, with neat rows of vegetables inside. Inside, however, it is a different kind of farming. Rain, wind, pests and harsh sun are partly held back, temperature and humidity can be managed, and crops can grow in seasons when open fields struggle. That control is also the catch. A polyhouse needs investment, daily attention and new skills, and a beginner who treats it like an open field under a roof is likely to be disappointed. This guide explains what a polyhouse really changes, what it costs in general terms, which crops suit it, and where beginners most often go wrong.
What a polyhouse actually does
A polyhouse does not create magic weather. It moderates it. The covering lets sunlight in while reducing direct rain damage, hail and strong wind. Inside, temperature rises during the day and falls at night, humidity is usually higher than outside, and air movement depends on vents, side curtains and fans. The farmer's job is to keep that enclosed climate within the range the crop prefers: warm enough for growth, cool enough to avoid heat stress, humid enough to avoid wilting, and dry enough at leaf level to limit disease.
That moderation has real benefits. Seedlings are protected from heavy rain. Fruit is cleaner and less damaged by wind and pests. Water can be delivered precisely through drip lines, so less is wasted. Crops can be grown out of season, when open-field supply is lower and quality produce may find a better market. Yields per unit area are often higher than in the open field, because the plants are protected and managed more closely. But none of this is automatic. A closed house on a hot afternoon can overheat quickly, and a damp, still house can invite fungal disease faster than an open field. Control is the product; the structure alone is only the start.
Structures vary: a simple naturally ventilated house relies on side and roof vents, while a fan-cooled house gives more control but costs more and needs reliable electricity. A beginner should visit working polyhouses in the same district before choosing a design, since a structure suited to a cool hill climate may overheat badly on a hot plain.
Costs, without false precision
Polyhouse costs vary so widely by size, structure, location, crop and level of automation that a single figure would mislead. A small, naturally ventilated unit costs far less than a large, fan-cooled, fully automated one. Land preparation, the frame and covering, irrigation and fertigation equipment, planting material, growing media or beds, and labour all add up. Running costs continue after construction: electricity, water, fertiliser, plant protection, replacement of covering material over time, and the farmer's own daily time.
That variation is why beginners should cost their own plan, not copy someone else's. Get written quotations from two or three local suppliers for the same size and specification, and ask what is included and what is not. Ask existing polyhouse farmers nearby what they spend each season on inputs, labour and repairs, and what breaks first. Check whether any government scheme or subsidy applies in the state, what conditions it carries, and whether it is paid before or after construction; subsidy rules change and should be confirmed with the horticulture department rather than assumed from an old advertisement. A realistic budget also includes a contingency for a failed first crop, because learning a new system rarely goes perfectly.
Borrowing for a structure that takes several seasons to repay makes sense only with a market plan and realistic yield expectations, so speak to a bank, producer organisation or horticulture officer, with a written estimate and crop plan, before building.
Choosing crops and managing the climate inside
The most reliable beginner crops are usually vegetables that respond well to protection and steady care: capsicum, cucumber, tomato and leafy greens are common examples, along with flowers in some regions. The right choice depends on local demand, the farmer's experience, the season, and how far the produce must travel. A delicate crop that fetches a good price but bruises on a long, rough journey may be a worse choice than a sturdier crop with a steadier local buyer. Starting with one main crop, rather than five unfamiliar ones, lets a beginner learn the house's climate and the crop's needs together.
Daily climate management is a routine, not an occasional task. In the morning, vents are opened as temperature rises; in the heat of the day, shading or ventilation prevents scorching; in the evening, the house is closed enough to hold warmth without trapping excess humidity overnight. Irrigation is usually by drip, with fertiliser dissolved in the water, a practice called fertigation. This gives precise nutrition, but it also means a blocked dripper or a wrong fertiliser dose affects plants quickly. Checking drippers, filters and pH and nutrient levels regularly is part of the job, and a simple logbook of watering, feeding, temperature and observations helps the farmer learn what works in that particular house.
Pest control also changes indoors: insect-proof nets reduce entry, but once a pest is inside it can spread fast in a warm, sheltered space. Regular scouting and early action beat waiting for a severe outbreak, and clearing old crop debris and weeds around the structure removes pest harbours.
Common mistakes, and how to avoid them
The first mistake is building too big, too soon. A large house multiplies every error: a watering mistake, a variety unsuited to the climate, or a missed market affects far more plants. Starting with a modest size, learning one or two crops well, and expanding only after a successful season is slower but safer. The second mistake is neglecting the market. A polyhouse crop must be sold quickly and in good condition. Before planting, the farmer should know who will buy, in what quantity, at what quality standard, and how often.
The third mistake is treating ventilation as optional. On a hot day, a closed house can damage a crop within hours. Vents, curtains and fans must be operated on time, and the farmer needs a backup plan for a power cut during a heatwave. The fourth mistake is overwatering. Drip irrigation makes it easy to keep the root zone constantly wet, which encourages root disease and weak growth. Water should follow the crop's stage and the weather, not a fixed habit. Beginners also underestimate labour: pruning, training, tying, harvesting and grading inside a polyhouse are skilled, daily tasks.
Conclusion
Polyhouse farming is best seen as a trade: the farmer gives up the simplicity and low cost of the open field in return for protection, control and the chance of higher, steadier quality. That trade pays when the structure suits the local climate, the budget is costed honestly, the crop has a buyer before it is planted, and the daily routine of ventilation, irrigation, feeding and scouting is followed. It disappoints when the house is built on hope, the crop is chosen from a brochure, and the market is discovered after harvest. For a beginner, the wisest first step is not to order a structure, but to spend time inside working polyhouses nearby, talk to their owners about costs and mistakes, and then start small, with one crop, one market and a notebook that records everything.